How to Take a Professional-Looking Headshot at Home: 3 DIY Tips That Work
- ana gil
- Aug 13, 2025
- 2 min read
In the age of smartphones, tripods, and self-timers, it’s tempting to snap your own headshot and call it a day. And truthfully, some people pull it off beautifully. But for every success story, there’s a cautionary tale.
Recently, I came across a story about someone who submitted a DIY headshot to their employer. The pose was okay, but the photo had low lighting, a slightly awkward expression, and the hair was not at its best.
The employer decided not to use it for professional purposes because it didn’t meet their brand’s presentation standards, specifically mentioning the hair as “unprofessional” (her words, with a “lol”).
When we DIY our headshots, we have so much to think about that significant details like this can go unnoticed, especially if the employer needs the image quickly. Why DIY Headshots Fail (and How to Avoid It)
Here’s the thing: a headshot is more than a photo; it’s a representation of you as a professional, and by extension, the company you represent. If you’re going to take a professional headshot at home, paying attention to the details can mean the difference between an image that gets approved and one that gets rejected.
Now, let me share some tips with you, so if you are ever in that position and need to take a quick headshot, you can do it right.

3 DIY Headshot Tips for a Polished, Professional Look
Lighting is everything.
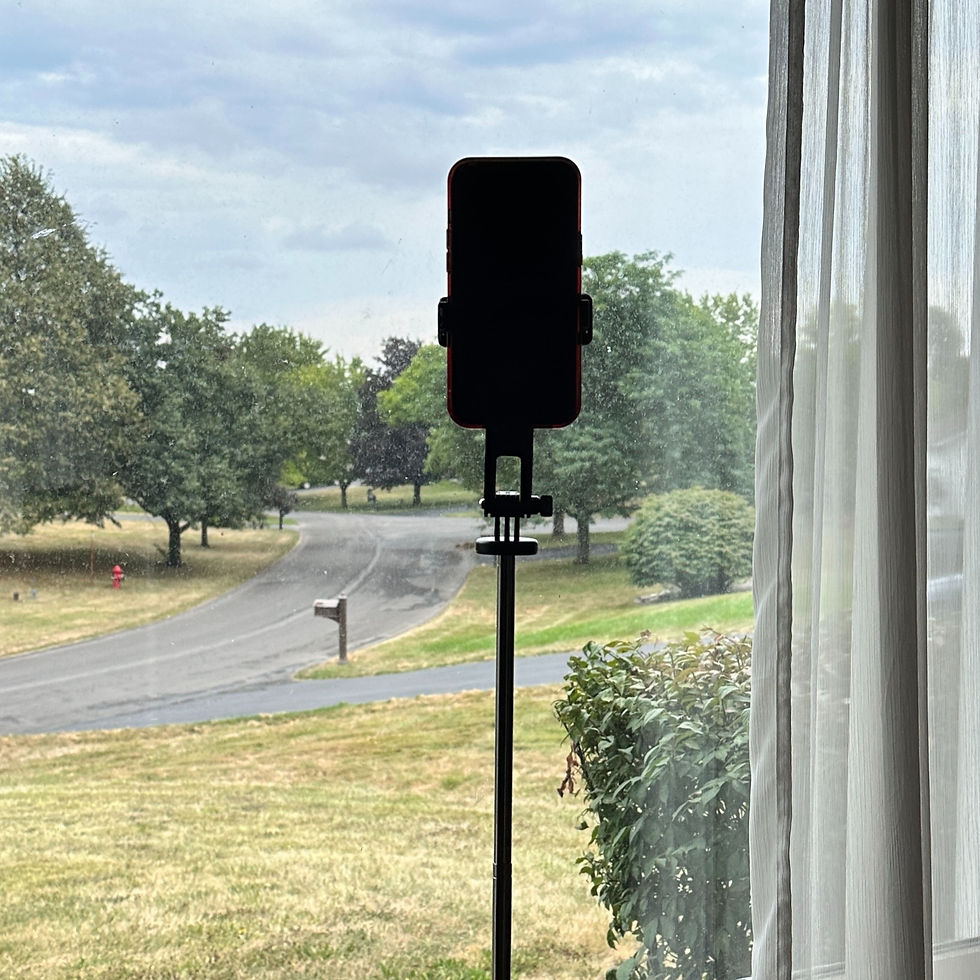
Natural light from a window can work wonders, just avoid harsh midday sun or uneven shadows. Position your tripod so you’re facing the window for soft, flattering light.
Posing should be intentional.
Relax your shoulders, angle slightly toward the camera, and keep your chin at a flattering level. Avoid stiff posture, think “approachable confidence.”
Expression sets the tone. Whether you choose a genuine smile or a confident neutral expression, make sure it feels natural, not forced. Think about the message you want your image to convey and the headshot's purpose.
My Simple DIY Headshot Setup
When I teach my ladies how to DIY their headshots, I encourage them to keep it simple:
Set up a tripod facing a window for that soft, natural light.
Check yourself on the camera phone.
Adjust your hair, make that eye-to-lens connection, hold the pose, click the shutter, and wait for the timer.
Repeat until you find “the one,” edit slightly, and call it a day.
These small details can make a big difference in how your DIY headshot is perceived, both by you and by others.
The Bottom Line
A well-done DIY headshot can absolutely look professional. But if you skip the details, you risk sending a message you didn’t intend. When in doubt, ask for feedback or consider investing in a professional headshot session.
Your image matters. Present it with care.
Thanks for reading!
-ana
P.S. If this was helpful, join my newsletter. I’ll share the behind-the-scenes of using iPhone headshots across my site and landing pages.
Learn more about headshots and media kits here: https://ecamm.com/blog/media-kit-blueprint-secure-brand-deals-like-a-pro/


Comments